
Wood Deck Staining and Sealing Guide

Why Should I Stain My Deck
Decks are often the centerpiece in a backyard landscape. A great place to enjoy time outdoors with friends and family, cook and enjoy meals, or just lay back with a cold drink. Our decks go through a lot, and to keep them looking their best, regular staining or sealing is necessary. Not only does staining protect your deck’s finish and extend its lifespan, but it allows you to explore colors and tones to help your deck really compliment your backyard. Staining a deck really brings out the natural beauty of the wood and can take the appearance to an entirely new level. For old decks, staining can provide a new lease on life.
The sun’s harmful UV rays will deteriorate your deck’s finish and cause it to dull. Over time, the UV exposure can cause enough damage to require deck board or complete deck replacement. Another factor working against your wood deck is moisture. Moisture comes in the form of rain, dew, humidity, snow, and ice. Moisture exposure and absorption over time will cause the wood in a deck to grow mold, crack, splinter, and eventually rot. It’s important to apply stain or sealant to the wood in your deck to form a protective barrier from UV rays and moisture absorption.
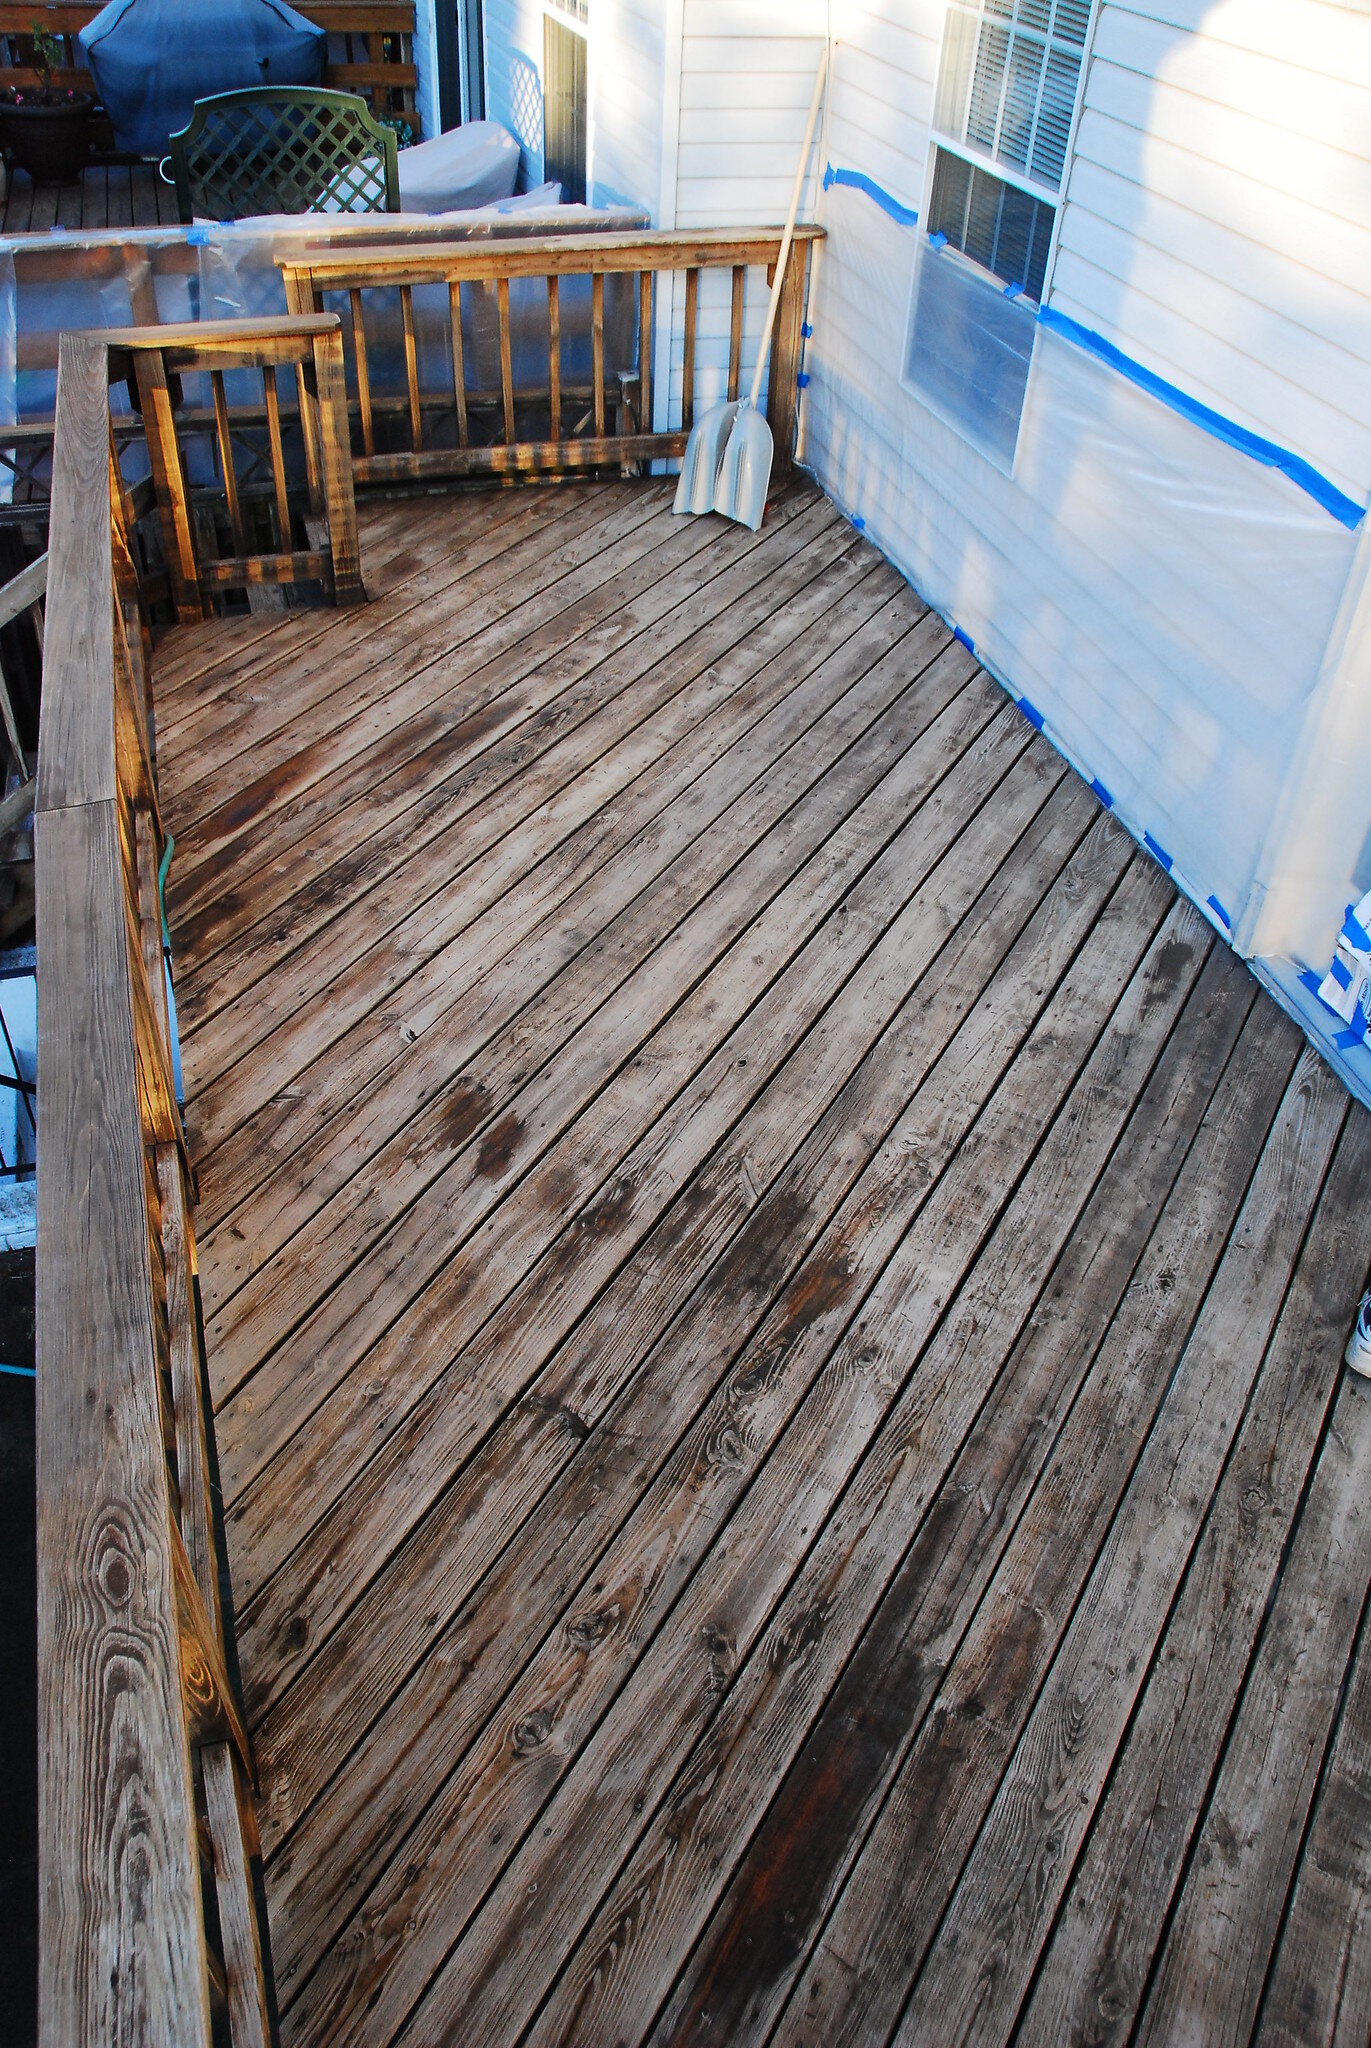
Before Stain
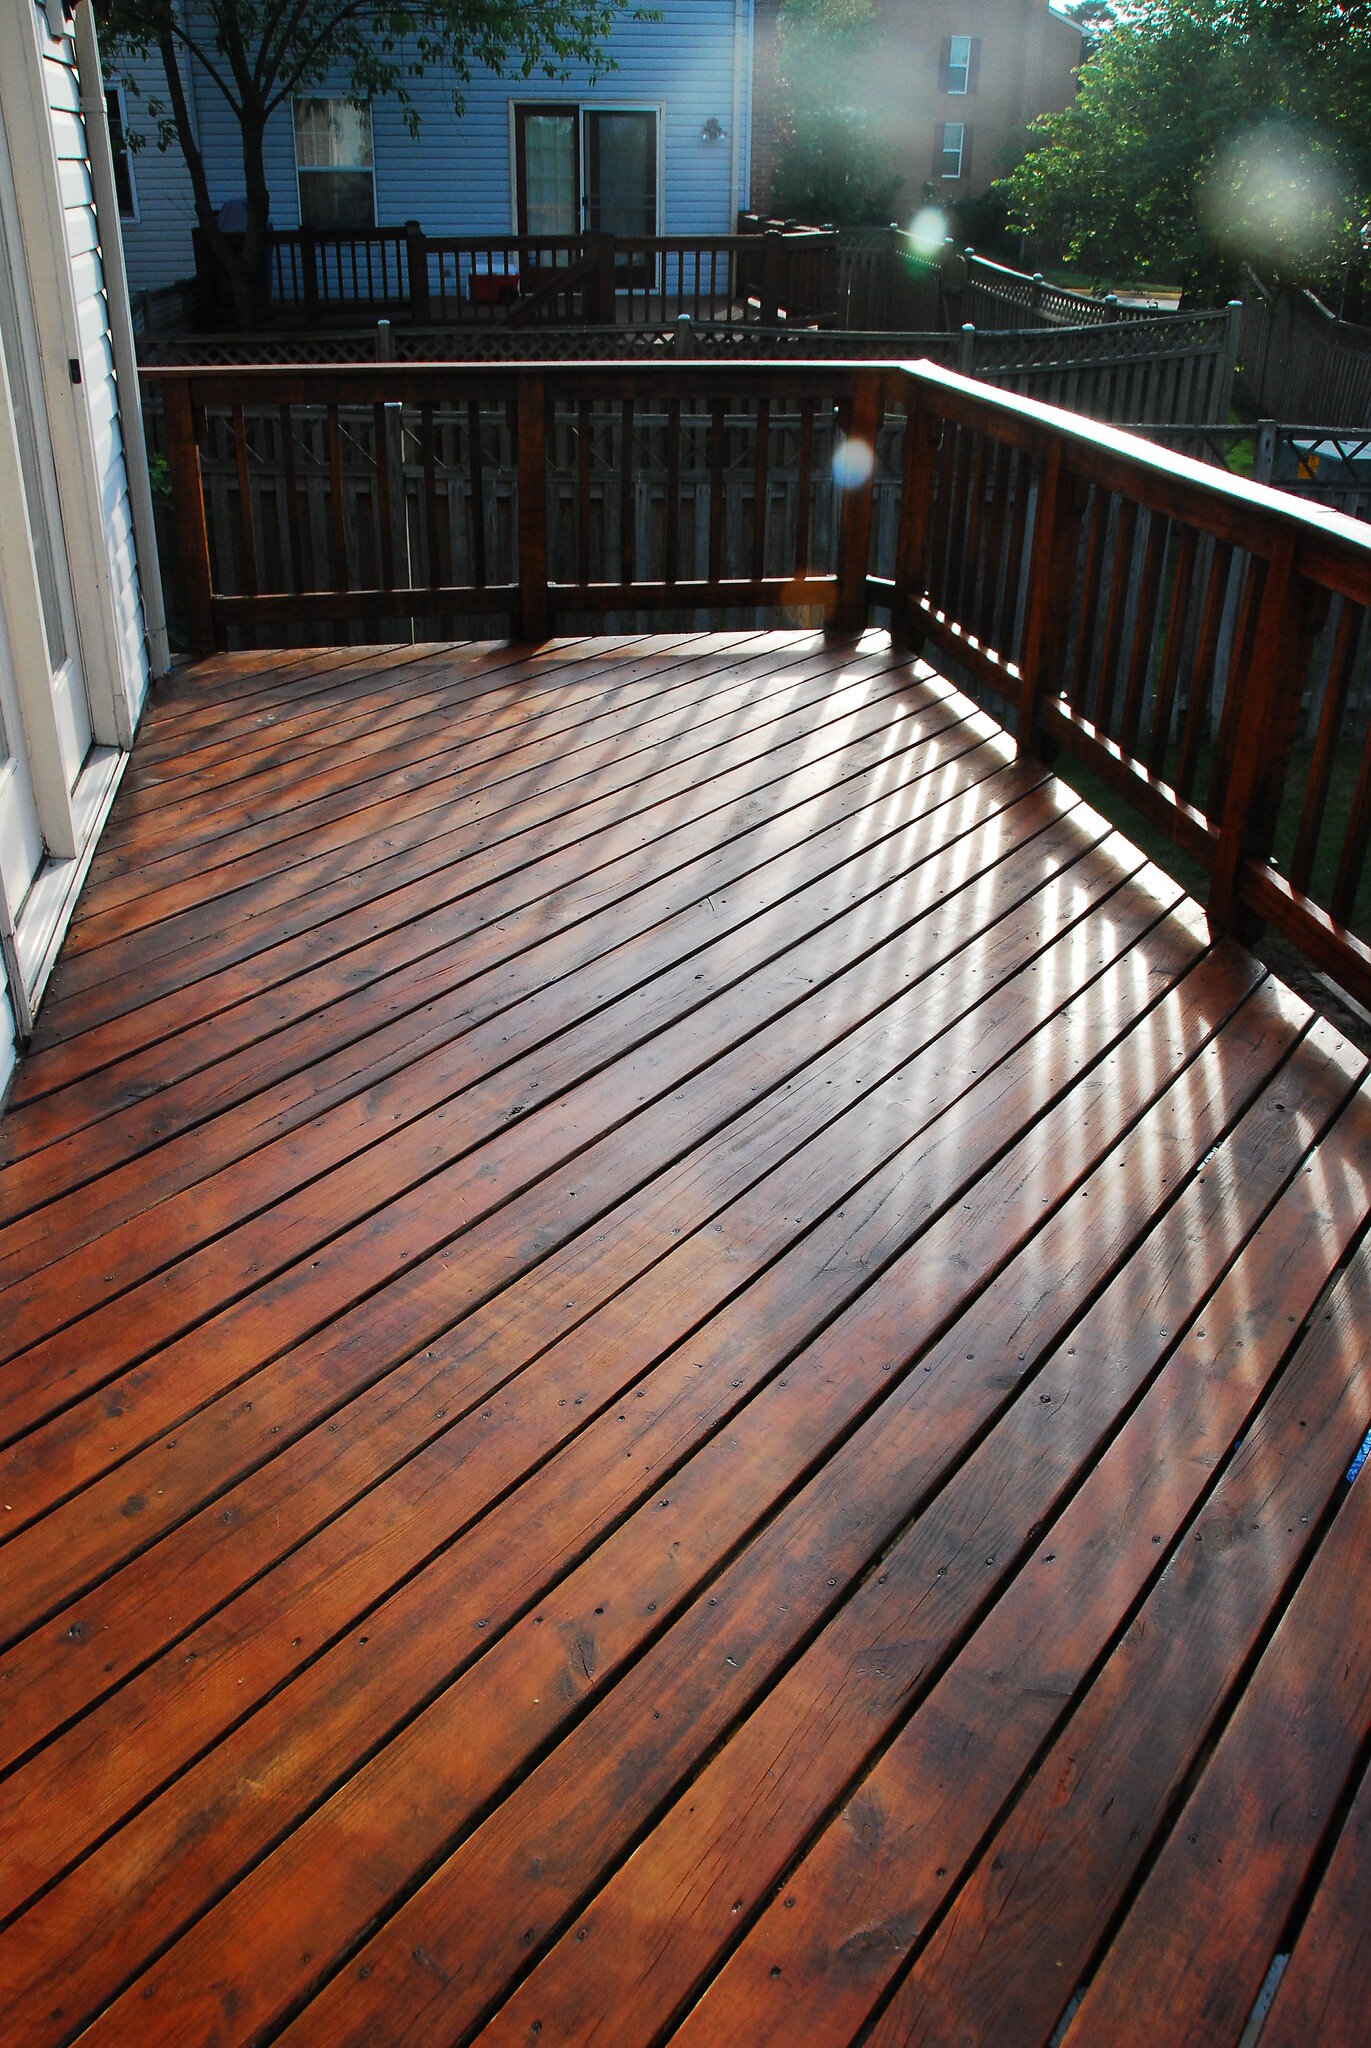
After Semi-Transparent Stain Application
When Should I Stain my Deck
For a new deck that’s never been stained or sealed, it’s best to wait 60-90 days after construction for the deck to weather. Often lumber comes to the job site moist, especially pressure-treated lumbers. It’s important to allow the wood time to completely dry before applying stain or sealant, otherwise, you’ll be sealing moisture into the wood.
Once a deck has been stained or sealed, it will need to be re-applied every 2-5 years depending on the product selected, and how much traffic your deck sees. A good way to check if your deck needs to be resealed is to perform a water absorption test. Pour some water onto the deck, if it absorbs any moisture, your deck needs to be re-stained or sealed. On a properly sealed deck, water should bead up and run off or evaporate from the surface.
Types Of Stains For A Deck
Many different types of stains will work for a wooden deck. They are offered by a variety of manufacturers, at varying price points, and in virtually any color or shade. The application methods and lifespans will vary slightly across different types of stains, but keep in mind that all will need to be regularly re-applied. There’s no such thing as a lifetime deck stain regardless of what some manufacturers may claim. We don’t recommend using paint to seal your deck, even if it’s designed for exterior use. It ends up looking great for a little while, but deteriorates very quickly, especially in areas of heavy traffic.

Stain Type Reference Chart
Oil-Based Stains:
Oil-based stains contain oil as a base, as the name implies. This oil is often tung or linseed oil. Oil-based stains will absorb into the wood better than any other stain type, providing superior water-repelling capabilities. Oil-based stains need to be re-applied every one to two years, but the process is easier than other stain types due to the minimal prep work. New oil-based stain can be reapplied right over the old oil-based stain with only cleaning as prep work. One of the downsides to using an oil-based stain is they can be messy to work with, and difficult to clean up. Because they are oil-based, cleaning up spills can be a challenge and will require harsh solvents. Even soap will have a hard time removing some oil-based stains from your skin.
Water-Based Stains:
Opposite of oil-based stains are water-based stains, which contain no solvents or oil and use water as a base. An acrylic stain or sealer is an example of a water-based product. They are often considered more environmentally friendly due to the lack of solvents and are much easier to clean up if spilled on yourself or in undesired locations. Water-based stains have improved over the years. Previously, they had been known for cracking and peeling soon after application. Today, many water-based stains contain additives to combat this, but like all stains, re-application will be required eventually. For water-based stains, expect to reapply every 2-3 years. One of the major differences and drawbacks of water-based stains is the reapplication process. Before a water-based stain can be re-applied, the old stain must be completely removed via scraping, scrubbing, pressure washing, and sanding. This can be a tedious and time-consuming process but is necessary to ensure a good, water-tight bond between the wood and stain.
Solid Deck Stains:
A solid deck stain is a stain that completely covers and hides the grain of the wood, almost like paint. This is achieved by adding a high amount of pigmentation to the stain, so it forms a film on top of the wood. Because the wood is completely shielded, solid deck stains offer superior UV protection. Similar to paint, solid deck stains are available in virtually any color. You can also purchase them in either water or oil-based formulations. One of the drawbacks to using a solid deck stain is that they are the most prone to peeling and chipping. Because they form a film on top of the wood, they don’t penetrate into the wood. Another drawback is that once you have chosen a solid deck stain, it will be virtually impossible to go back to a natural wood look. They can also be cumbersome to apply evenly.
Example Solid Deck Stain:
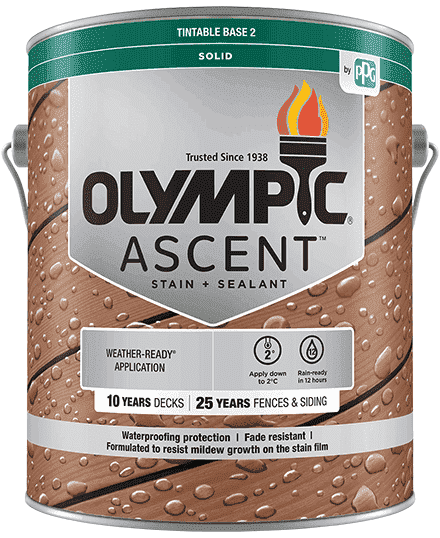
ASCENT™ Stain + Sealant in One Solid Colour
Semi-Solid Deck Stains:
Semi-solid deck stains contain less pigmentation than solid deck stains, and allow subtle wood grain and texture to show through. Because of the high pigmentation levels, they still offer great UV protection. Semi-solid deck stains come offered in a variety of colors and shades and in both water and oil-based formulations. One of the drawbacks to semi-transparent deck stains is that they can be hard to strip off.
Example Semi-Solid Deck Stain:

TRIUMPH™ Advanced Stain + Sealant in One Semi-Solid
Semi-Transparent Deck Stains:
Semi-transparent deck stains contain even less pigmentation and offer a hint of color while allowing the natural wood grain and texture to shine through. Because they contain less pigmentation, semi-transparent deck stains offer less UV protection than their more heavily pigmented counterparts. They come in a variety of tones and are easy to apply and maintain. My favorite part about semi-transparent stains is that they allow the natural beauty of the wood to shine through. Semi-transparent deck stains come mostly in oil-based formulations, which means they’ll need to be applied more frequently, but the removal of old stain isn’t required for re-application.
Example Semi-Transparent Deck Stain:
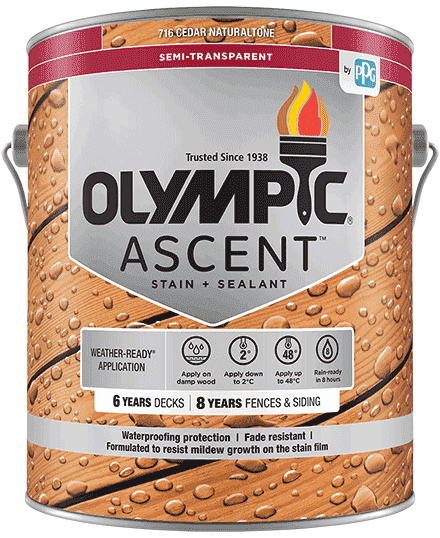
ASCENT™ Stain + Sealant in One Semi-Transparent
Transparent Deck Stains and Clear Sealers:
Transparent deck stains and clear sealers contain very little pigmentation or none at all. While they don’t offer near as much UV protection as heavily pigmented stains, a certain degree is still offered. Transparent deck stains and clear sealers are very easy to apply evenly but will need to be reapplied very often, in many cases, once per year. Transparent stains and sealers are best used on new deck builds, where homeowners would like to preserve the fresh, natural wood appearance. Transparent deck stains and sealers are offered in oil-based and water-based formulations.
Example Transparent Deck Stain:

ASCENT™ Stain + Sealant in One Toner
Example Clear Sealer:

ASCENT™ Waterproofing Sealant Clear
What You Need To Stain A Deck
Planning your job ahead of time and ensuring you have the proper tools will set you up for success. Nobody wants to run to the hardware store in the middle of a project because they forgot a vital piece of equipment. Below are all the tools and equipment necessary to stain your deck. Clicking the item will bring you to an example. We aren’t sponsored by these companies and don’t earn any kickbacks if you click the links or purchase, they are purely examples in case someone doesn’t know what a “stiff bristle deck brush” exactly is.

How To Prepare A Wood Deck For Staining

Cover any areas that you wish to keep stain-free!
Before we can apply stain to the deck, some preparation work is required to ensure a good finish. As much time and effort should be placed into preparation as is put into staining the deck itself. Poor surface prep can completely ruin what would otherwise be a professional deck stain application.
The preparation work required will depend if your deck is freshly built, or has previously been stained. The type of stain you plan on using, as well as the current type of stain that’s on your deck, will also dictate what preparation work is necessary.
Stain products always come with preparation and application instructions on the packaging. Always follow the manufacturer’s instructions to achieve the best results. As each product is different, the directions may deviate slightly from the instructions provided here.
Preparing A Freshly Built Uncoated Deck For Staining:
The first step in preparing a freshly constructed deck for staining is waiting. A period of 60-90 days is recommended for the wood to weather and dry out. Failing to wait long enough before sealing a new deck can result in sealing in moisture and an overall poor finish.
Thoroughly sweep off the surface of your deck, and wipe down any other surfaces to be stained like railing and balusters with a slightly damp cloth.
Using clear plastic and painter’s tape, cover any nearby plants, decorations, or any area you wish to keep stain-free.
Your deck is now ready for stain or sealer application.
Preparing A Previously Stained Or Sealed Deck For Re-Application:
Scrape off any loose or flaky stain with a scraper. This should only be present if your deck was previously stained with a heavily pigmented water-based stain.
Sand the surface of the deck with 80 grit sandpaper. This will aid in achieving better penetration of stain into the wood. If your deck was previously stained with a heavily tinted water-based stain, you’ll want to sand off as much as possible.
Thoroughly wash the deck and let it dry for 24-36 hours.
Once the deck is completely dry, give it a final sweep or blow.
Using clear plastic and painter’s tape, cover any nearby plants, decorations, or any area you wish to keep stain-free.
Your deck is now ready for stain application.
How to Stain a Wood Deck

It’s now time to stain your deck. The exact procedure will vary slightly between manufacturers and product lines. Always follow the application directions on your particular stain product to achieve the best results.
Tips before you start:
Thoroughly shake or stir your stain before you start.
Plan where you will exit the deck, such as a door or staircase. Avoid working yourself into a corner!
Avoid working in direct sunlight as this can cause the stain to dry too quickly.
Stain Application:
Start by applying stain to the highest features, such as railings, and work your way down. Using a brush or small applicator pad, work in long even strokes.
Once all surfaces above deck level are stained, it’s time to move onto the deck boards.
Using a large stain brush or paint pad applicator, apply the stain working in long even strokes. Work in manageable sections, completing one area before moving on to the next.
Use a small brush to get the stain into cracks between boards and hard-to-reach areas like around railing posts.
Once the deck surface is complete, move on to stain the wrap and skirting if your deck has these features. Use a large deck brush to apply stain working top to bottom. Use a small brush to get in between cracks.
Thoroughly wash all brushes and applicator pads with warm soapy water before the stain dries on the brushes.
Your deck is now stained! Wait 24-48 hours before walking on the deck or placing furniture. Most stain products only need one coat, but you may wish to apply a second. Check the directions on your particular stain product to see if the manufacturer recommends one or two coats.
Staining your deck will help it stay looking great, and help it last longer! It’s an easy project that almost any deck owner can accomplish, just take your time with it. The preparation work prior to staining is extremely important.